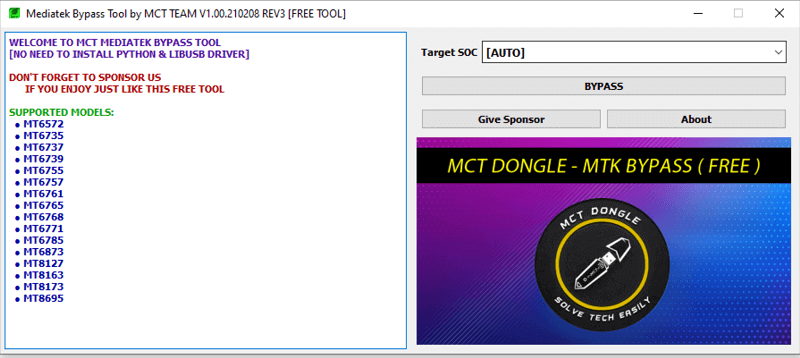
How To Download And Use MediaTek Bypass Tool V4
Google has added a security feature (FRP) to its Android OS. This feature is important of the device. But at …
FRP Bypass | FRP Tools | FRP APK
Google has added a security feature (FRP) to its Android OS. This feature is important of the device. But at …
Google has added a security feature (FRP) to its Android OS. This feature is important of the device. But at …

on this guide, you will find the link to download iFrpfile tool latest version on your computer to help you …
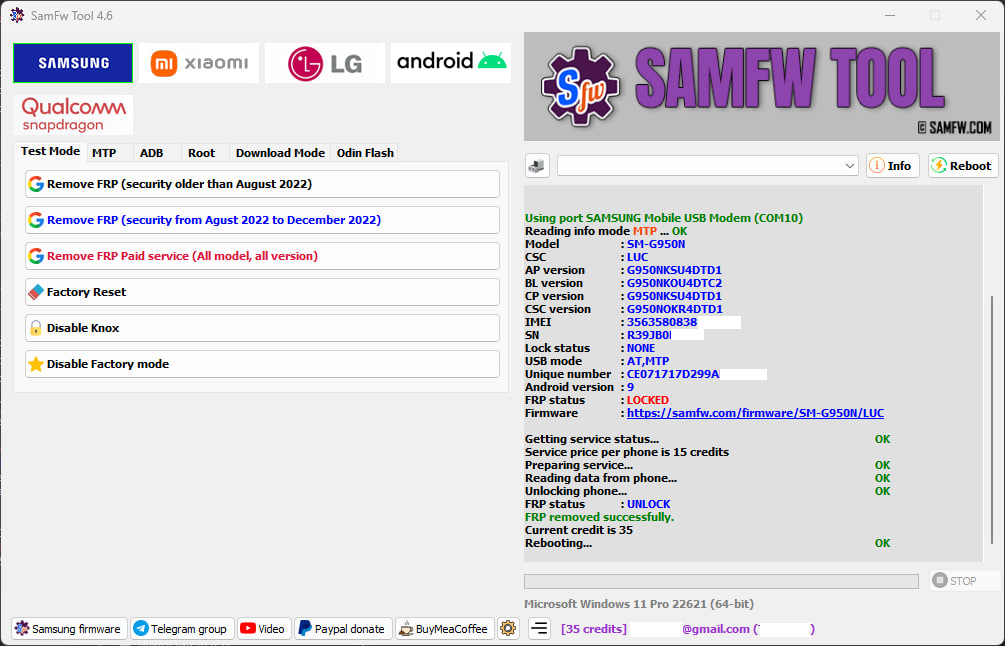
in this tutorial, we have brought SamFW Tool to help you bypass FRP easily by following some simple steps. Google …
Google has added a security feature (Factory Reset Protection) to its Android OS. This feature is important of the device. …
Google has added a security feature (FRP) to its Android OS. This feature is important of the device. But at …
Google has added a Factory Reset Protection (FRP) to its Android OS. This feature is important of the device. But …
Google has added a feature (Factory Reset Protection) to its Android OS Phone. This feature is important of the device. …
Google has added a security feature FRP to its Android Phone with Lollipop, Android 5.1 and later that aims to …

Factory Reset Protection a security feature important of the Android device. that aims to Protect your phone from theft and …